Go from zero to hero in just weeks with our Automating Onshape with FeatureScript course. Whether you’ve never written a line of code in your life or you’re a programming veteran, these lessons give you the skills to take your Onshape workflow to the next level.
Need more help? Have us make a custom feature for you!
Features created in this course:
Auto Mate Connector
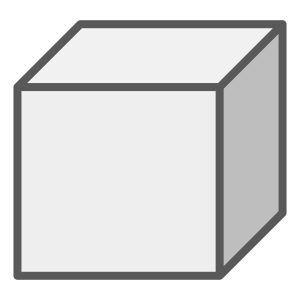
Color by Volume
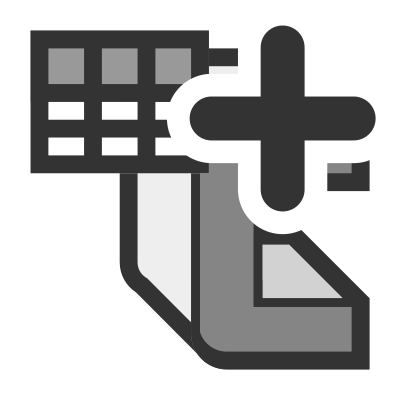
Cutlist+

Measure
What’s New?
Lesson 16
Lesson 16 is available! Learn to create custom tables.
Lesson 17
YouTube Session 1
A new YouTube Session is available!
Product Catalog
In this FeatureScript video tutorial, you’ll learn how to create and customize a custom feature in Onshape. The lesson covers setting up a Feature Studio, adding user inputs, coding your feature, and adding a custom icon. You’ll also learn how to integrate your feature into the toolbar, troubleshoot using debugging techniques, and share your custom features with others.
- Creating a Feature Studio
- Adding User Inputs
- Coding Your Feature
- Adding Your Icon
- Adding the Feature to Your Toolbar
- Troubleshooting Your Feature
- Sharing Your Feature
- User Inputs
- Check Box
- Query
- Real
- If / Else Statement
- Operators
- Array
- Onshape’s Constant (Cubic Units)
- Set Property (Appearance)
- Enum (Drop down selection)
- UIHint (Show label)
- Group
- Defaults
- Maps
- Group (Boolean driven)
- String Parameter (Text)
- Set Property (Name)
- Working with strings (Text)
- Onshape’s Standard Source Code
- Onshape’s FeatureScript Documentation
- Copy a Feature
- Length Parameter
- Angle Parameter
- Tab Manager
- Importing Code
- Functions
- Shortcuts
- Code Structure
- Monitor
- Importing Code
- Functions
- Shortcuts
- Code Structure
- Print to Console
- Error Handling (try-catch)
- Merging entity filters
- Feature Name Template
- Measure Distance
- Documentation
- Custom Functions
- Popup Message
- Part Studio Variables
- Computed Parameters
- Adding to the Definition
- Nesting Functions
- evMateConnector
- Try Silent
- evLength
- Bold Debug Entities
- qEntityFilter
- qLoopEdges
- qUnion
- qOwnedByBody
- qBodyType
- Switch Statements
- Refactoring Code
- Custom Functions
- evCurveDefinition
- evSurfaceDefinition
- angleBetween
- extractDirection
- evArea
- evVolume
- qOwnerBody
- evApproximateCentroid
- Dynamic UI
- Editing Logic Function
- Functions as map templates
- Dynamic UI
- Editing Logic Function
- Read Only Parameters
- qGeometryType
- Convert Units to String
- Compound assignment operators
- Document Units
- Ternary Conditional Operators
- Custom Table
- GetVariable
- SetVariable
- Custom Table UI
- Sort()
- Key()
Get on-demand tech support from CADSharp via Slack!