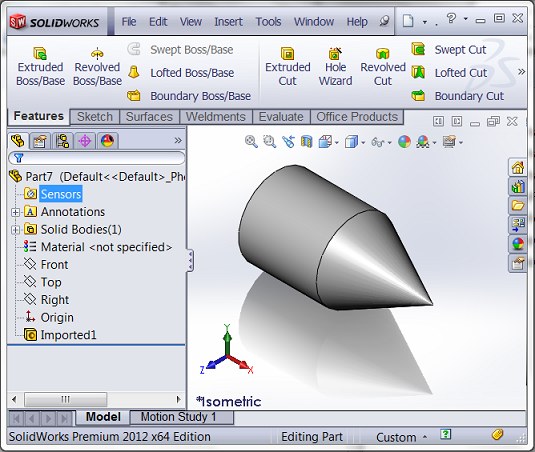
Yes, it’s true. You can create bodies “on-demand” without using features—using the SolidWorks API, of course. How does this magic happen? Enter in a rarely used but very powerful interface called IModeler. This interface contains no less than 30 members (not including obsolete members) for creating every kind of solid body, surface body, and curve you can think of—all without clogging up your feature tree. Best of all, since these temporary bodies are still true bodies, any IBody2 member can be used on them.
Why are they temporary? Because as soon as the IBody2 object for the temporary body becomes Nothing, *poof*. They’re gone. You ask, “What’s the point, then?” Consider these scenarios:
1. Previews. The most obvious use here would be a macro feature preview, but a preview could be used in other contexts as well. Temporary bodies can be easily updated with new user input, and the programmer can choose not to make the temporary body selectable—just like you’re familiar with already when previewing a feature.
2. Performance. IModeler generates temporary bodies far faster than standard features. Combine this with the default invisibility of temporary bodies and the ability to use IBody2 functions on them, and you have a great tool for calculating mass and volume properties very quickly and without the user knowing. For example, perhaps your macro or add-in needs to calculate the volume inside of a pressure vessel. Using IModeler you could create a body that consumes the pressure vessel, run a subtract operation using IBody2::Operations2 using the pressure vessel as the tool body, delete out the unnecessary bodies, and then find the remaining volume.
Finally, in the event that you do want the temporary body to become a “normal” feature, no problem. That is what IPartDoc::CreateFeatureFromBody3 is for. That brings us to our final use of IModeler:
3. Macro features. A macro feature is a custom feature and consequently any body produced by this feature cannot come from a standard feature, hence the need for IModeler.
Want to see a simple example IModeler in action? Try out this code with a blank part document open:
Dim swApp As SldWorks.SldWorks

Dim swModel As SldWorks.ModelDoc2

Dim swModeler As SldWorks.Modeler

Dim swBody As SldWorks.Body2

Dim swFeat As SldWorks.Feature

Dim swPart As SldWorks.PartDoc


Sub main()

    Set swApp = Application.SldWorks

    Set swModel = swApp.ActiveDoc

    Set swModeler = swApp.GetModeler


    Dim dblData(8) As Double

    dblData(0) = 0

    dblData(1) = 0

    dblData(2) = 0

    dblData(3) = 1

    dblData(4) = 0

    dblData(5) = 0

    dblData(6) = 0.1

    dblData(7) = 0.1

    dblData(8) = 0.1


    Set swBody = swModeler.CreateBodyFromBox(dblData)

    Set swPart = swModel

    Set swFeat = swPart.CreateFeatureFromBody3(swBody, False, 0)

End Sub
The result should be a cube created instantly—without creating any sketches or using any features.
Want to learn more? Our video tutorial on temporary bodies, found in our complete VBA course, will show you how to do the following:
- How to display temporary bodies (without converting them to permanent bodies)
- How to check temporary bodies for faults
- How to perform boolean operations (e.g., add, subtract, combine) on temporary bodies
- How to change the color of temporary bodies
- How to make temporary bodies unselectable
In the very near future we’ll be posting a video showing how to use temporary bodies in macro feature previews, so check back soon.
Happy coding,
Keith
PS: Don’t forget that our 20% off discount lasts only until March 10th! Just use coupon code “sww2012”.
Want to keep up with future CADSharp.com macros, videos, and live training classes? Sign up for our newsletter.


Leave A Comment
You must be logged in to post a comment.